MonQuartier
A mobile app to discover local stores
Why the app?
First things first, what does MonQuartier mean (for the unfortunate among you who haven’t had the incredible and amazing opportunity to study the language of love)? It literally translates to: my neighborhood. So what’s so special about your neighborhood? Well, if you live in a city such as the one I was living in when coding the app (Paris), you probably have plenty of local, small, stores around where you live. These stores most likely don’t have a proper website, let alone their own app. However, with increasing digitalization and online shopping, this means these shops are often losing out to online services such as Amazon. Sooooo, wouldn’t it be great to have an app where you could browse through all your local stores, see if they had any interesting discounts at the moment and possibly have access to a map so you could see exactly how to get there!? I think it would and that’s where this app comes into play.
Show it to me
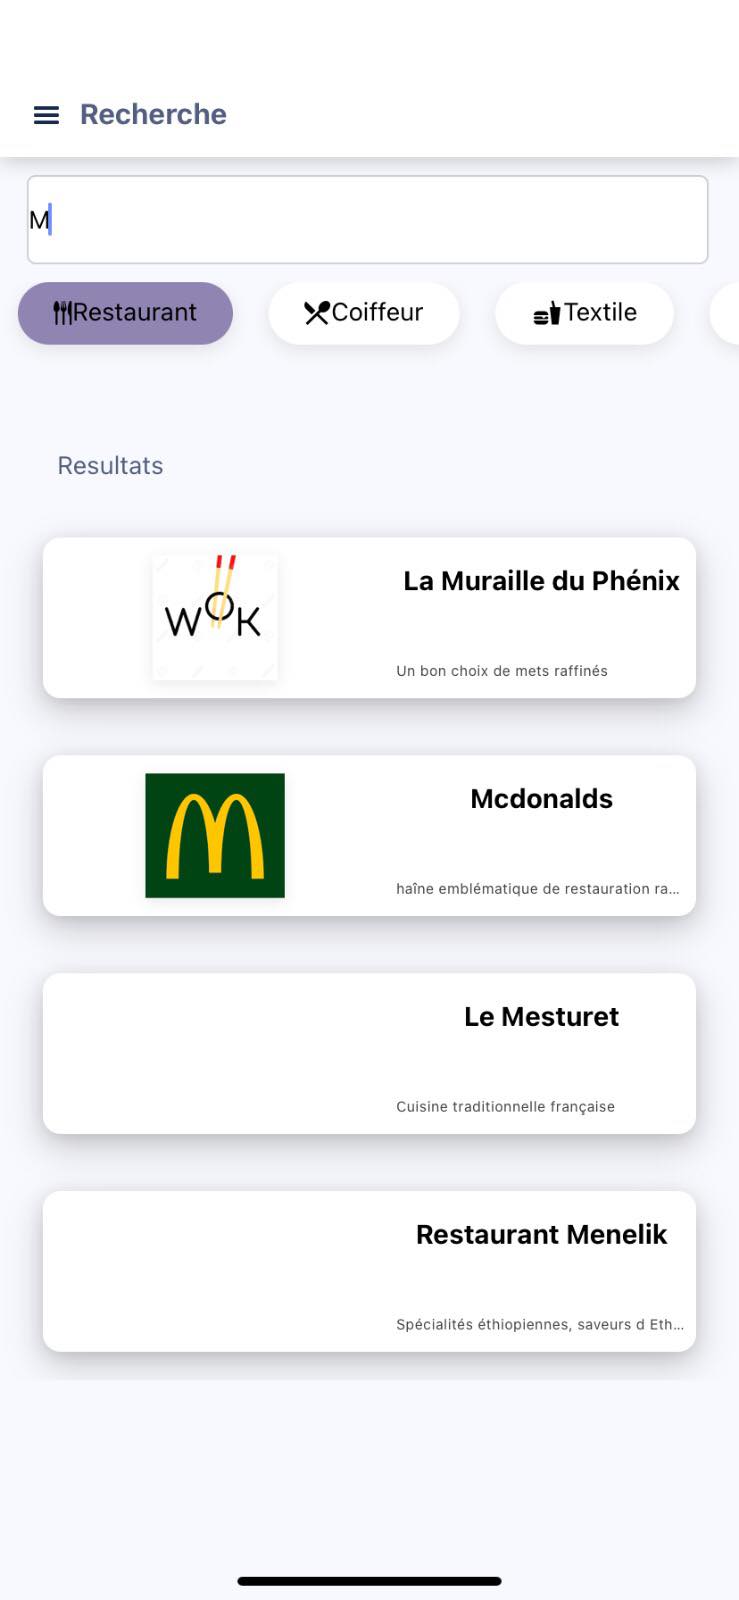
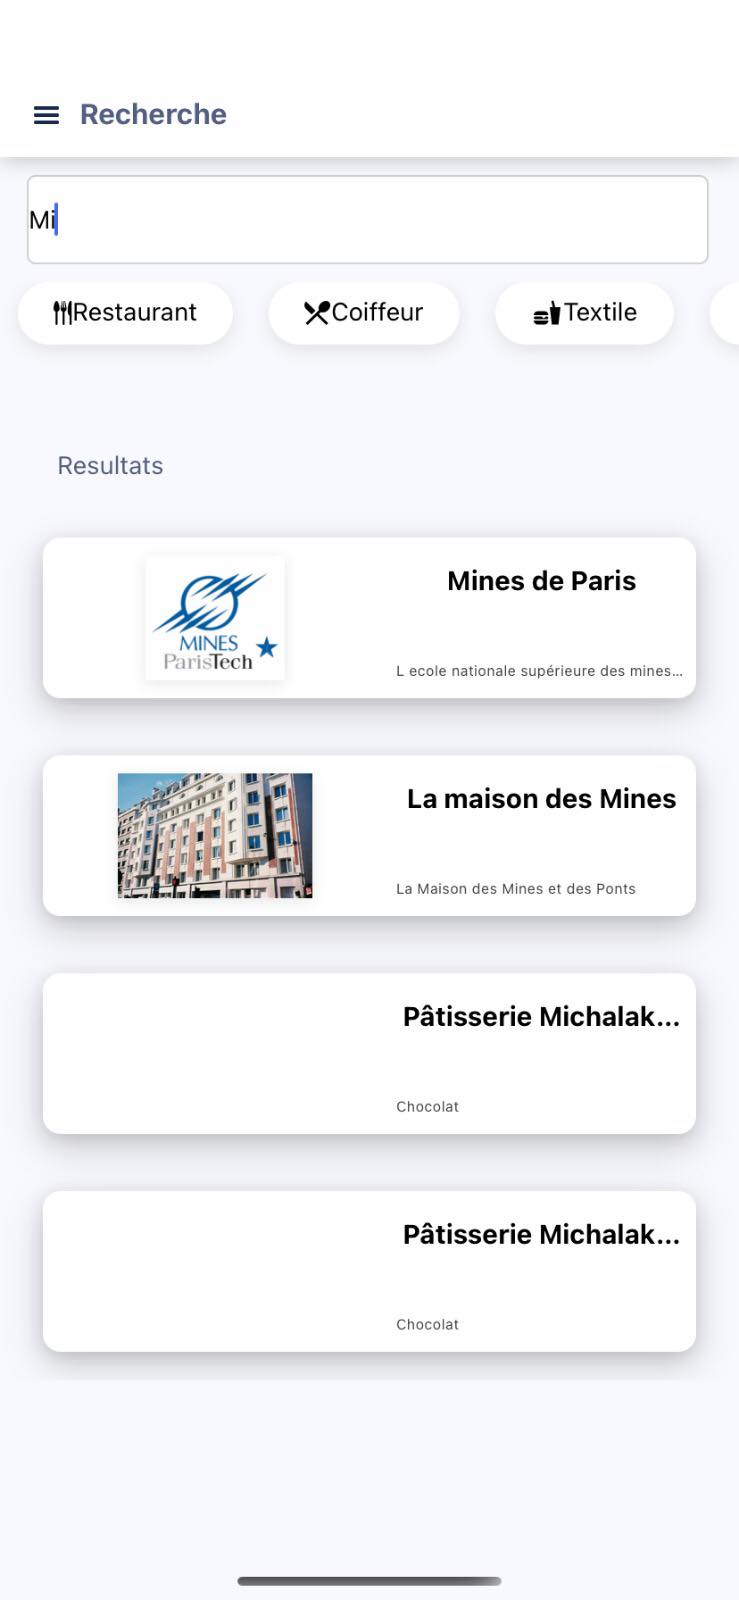
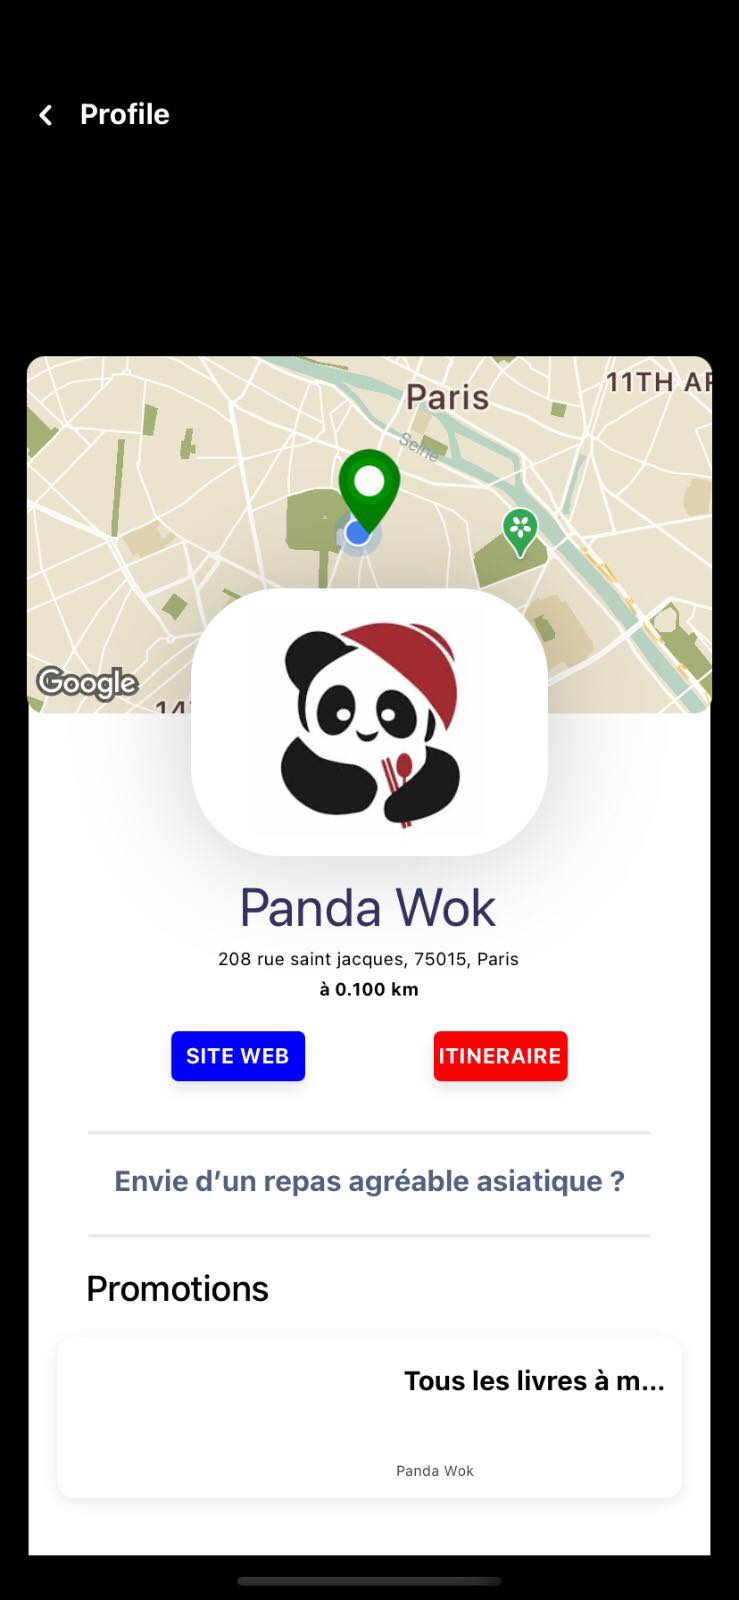
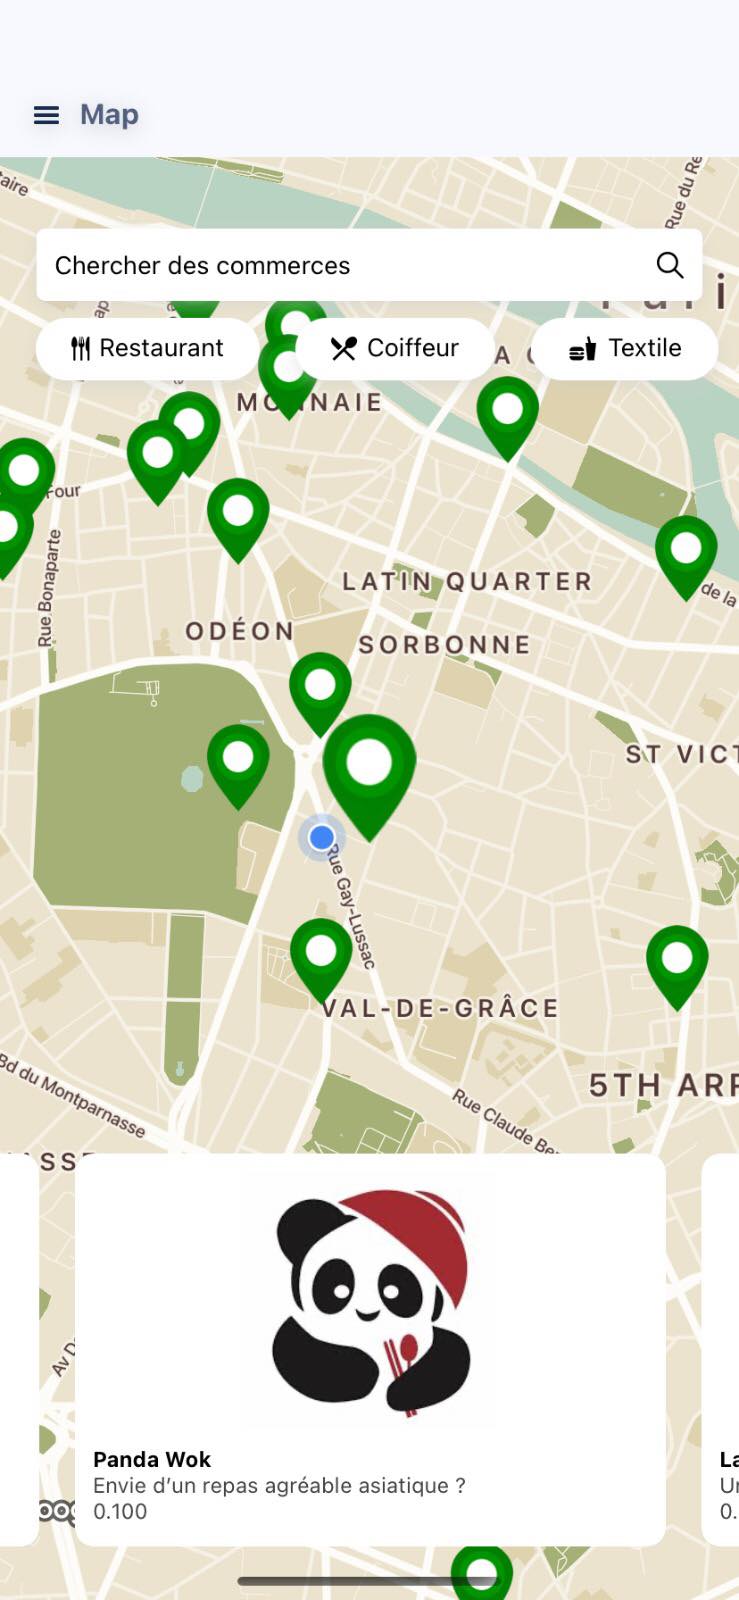
Hopefully, this section won’t serve a purpose in the near future as we (the team of students at Mines ParisTech who developped the app) would like to make it available on the App Store and Google Play. Unfortunately, for the time being (while we fix issues regarding the deployment of the back-end to a remote server), you’ll have to content yourself with the github where you can download a local version if you’re willing to take a little time to make it run. You can also have a look at some of the views of the app here (in the same order as the general ‘workflow’ of the app, account specific views and handling personal information will be detailed further below):
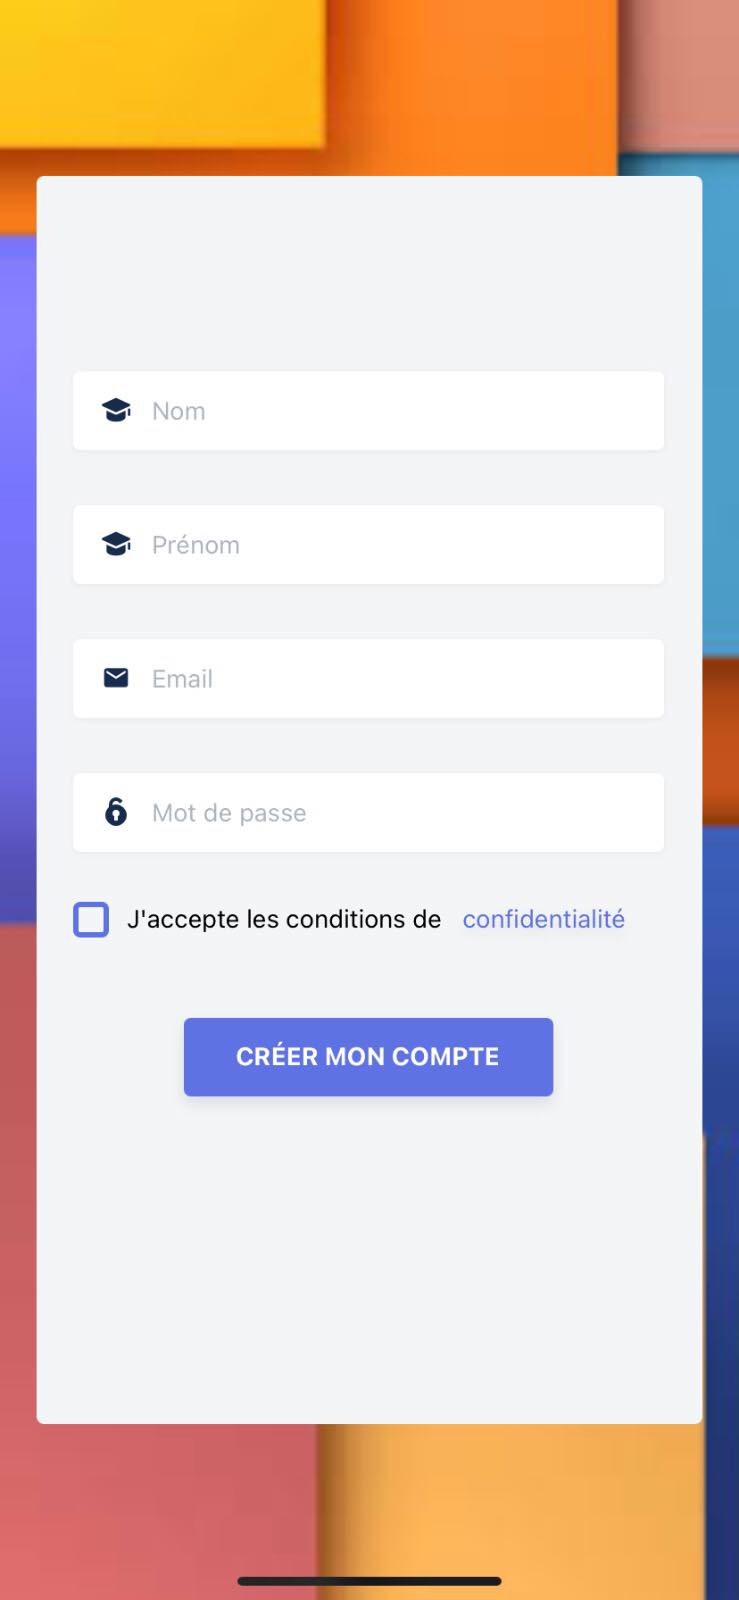
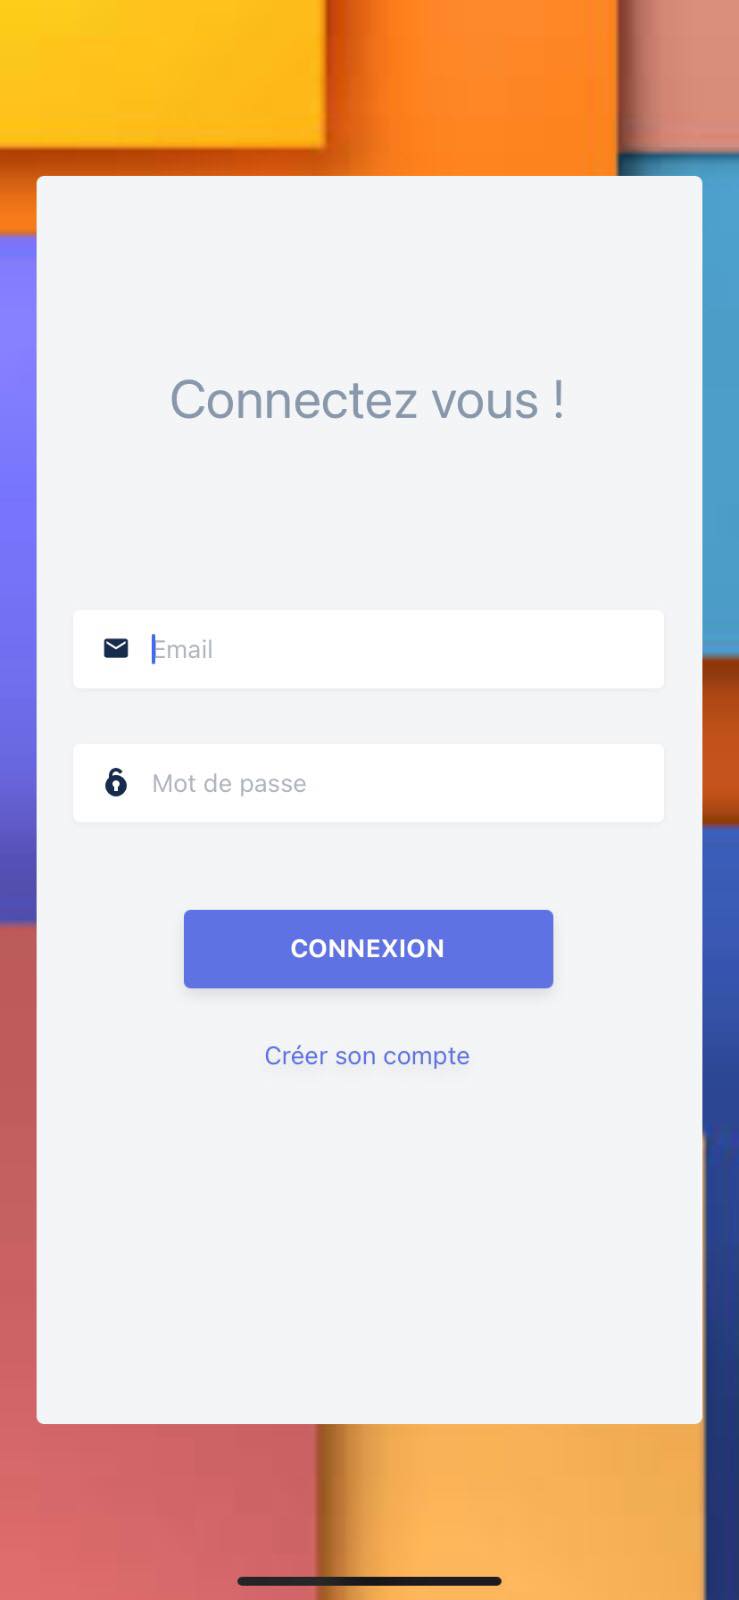
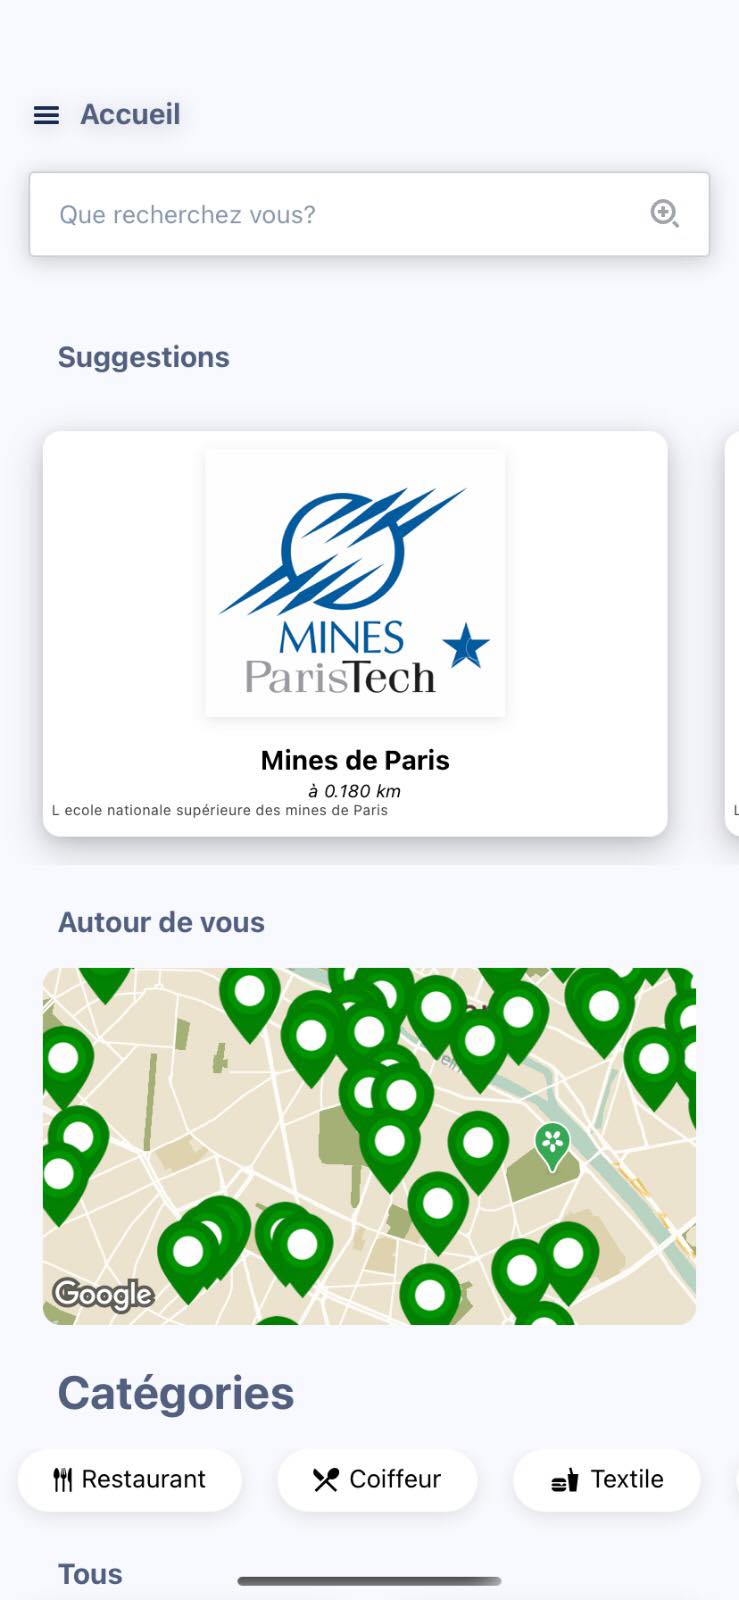
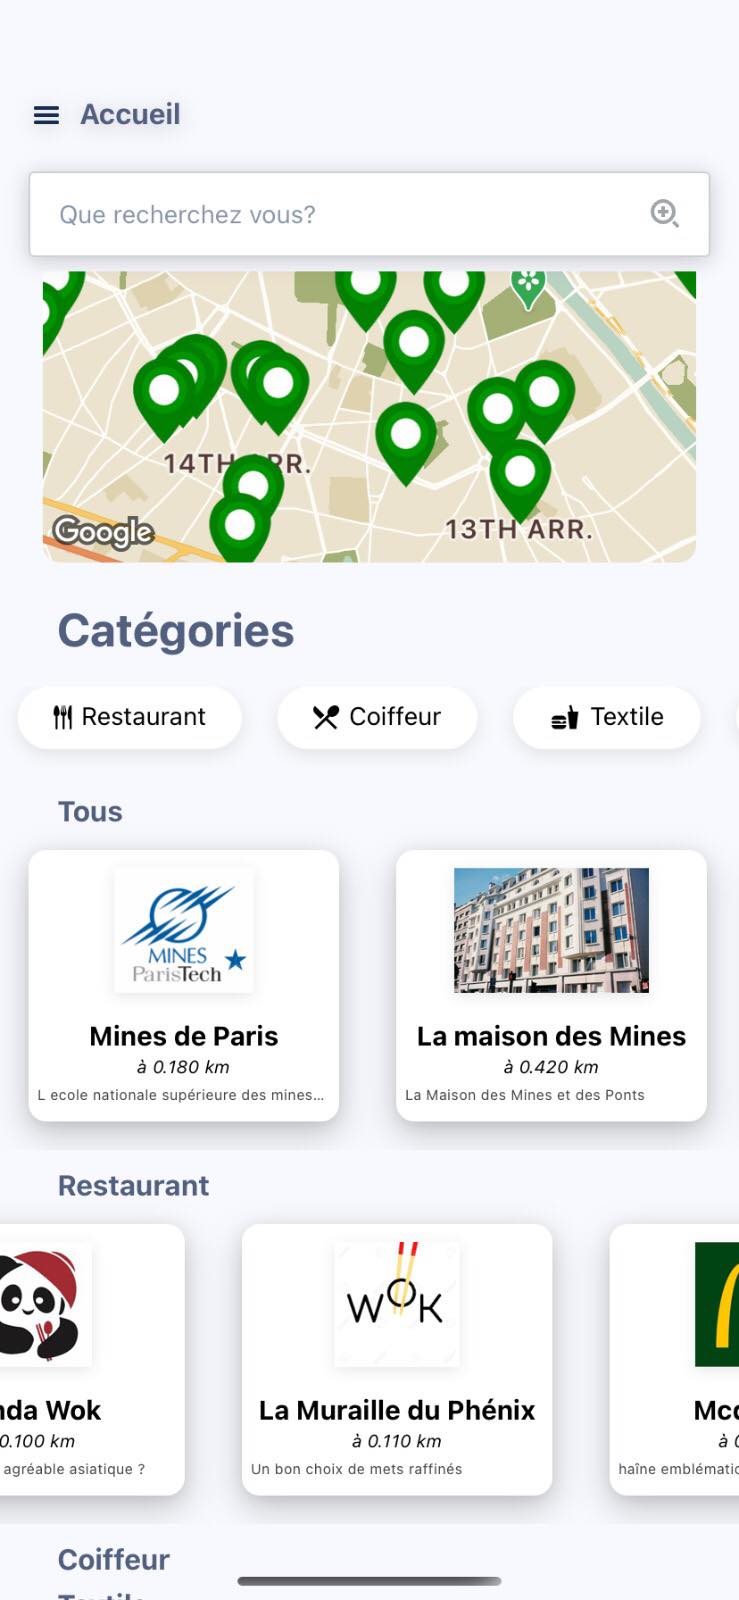
Oh, and there’s also a website
How does a shop owner interact with our platform? We made the hypothesis that shop owners would rather log onto a website from their computer to input all the relevant information about their business and current discounts. It seemed a bit tedious to have to do so from an app, especially when you need to start loading images and writing long texts about your business etc. Therefore we built a small site so that shop owners can easily create an account and start uploading relevant information. The site is fairly minimalistic and was built using a standard template, but it does the job:
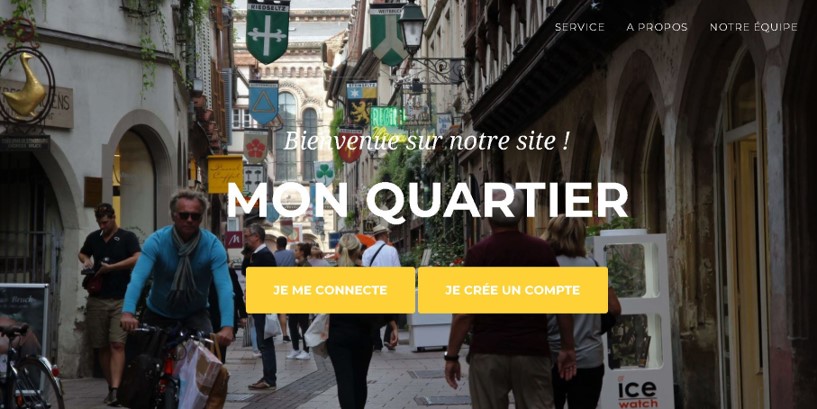
If you click on ‘Je crée un compte’ you’re redirected to a page where you can fill out all the relevant information about your business.
The technical aspects
As you might have guessed, we used a traditional back-end/front-end dichotomy for this app. The main reason being we needed a fixed database to store information about the businesses (their locations and current discounts) that they can enter via the website but that needs to be accessed by users via the app. Similar to the other project overviews, my intention here isn’t to give a detailed tutorial on how the technologies we used work, the internet is full of those. I’d rather dwell on some of the challenging aspects of building the app and give a brief overview of how everything fits together.
Back-end
The Back-end (the part handling the database) was written in python with the help of the (micro)framework Flask. We used a PostgreSQL database (yay for open source!) and AnoDB to connect with the database from the python scripts. A few scripts make the whole back-end work, the main one being app.py which handles all the HTTP requests that we defined in our REST API. We also wrote a few sql scripts that we can access from app.py with anodb. The main ones are data.sql which defines the initial data to put into the database, queries.sql with all the SQL queries that we can handle on the database, drop.sql to drop the tables of the database (mainly for development and testing purposes) and others… The ensemble gives a fairly standard back-end to which we can send a whole bunch of HTTP requests and which, provided authorization and authentication passes, will send back responses with the appropriate data from the back-end.
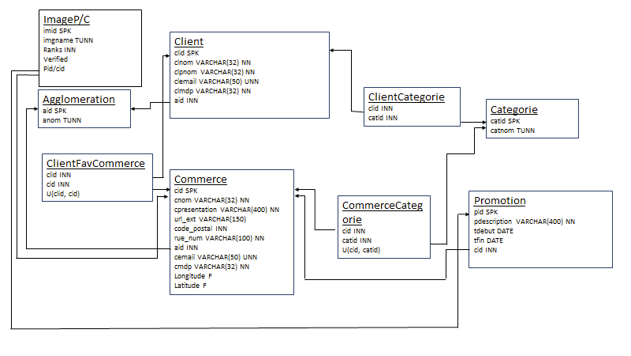
A few interesting challenges came up here. The first was handling images, we didn’t really want to add images into the psql database as they aren’t really optimized for that. Therefore, we decided to just store images names, that we generate, and access an exterior folder containing the images when a user wants to upload, modify or delete some. The images also had ranks, which meant we could choose from the front-end which ones to display first if a business uploaded multiple images to our database. This leads to interesting mechanics in terms of requests to send to the back-end when you allow customers and businesses to change the image order …
Another interesting challenge was trying to guarantee a minimum of security for the back-end and the application as a whole. We tried to set up lots of safeguards to stop people from trying to mess with the database or do anything funny, such as constantly limiting the number of characters one can enter in different text fields, only storing people’s passwords once we’ve encrypted them, verifying the incoming stream of bytes when a user is uploading an image to make sure it’s actually an image and finally, handling authentication and authorization properly. This last part is crucial and subtle, we chose to use JSON Web Tokens with a secret key and the HMAC algorithm, you can find plenty of relevant information here if you aren’t familiar with them. They work really well and implementing them in python is easy with the help of pyjwt. Anyway, they allow you to send things such as a user id, issue date and expiration date back and forth from the front-end to the back-end. This means that from the back-end we can check whether the incoming request is coming from a user or a business that actually have an account, and then handle the request accordingly. We can send them account-specific information, allow them to do certain tasks, etc.
Of course, doing security assessments of a FE/BE architecture is a full-time job and this was a short project, so there are probably plenty of other vulnerabilities we haven’t discovered. Nonetheless, this served as a practical introduction to designing safe & secure software.
Front-end(s)
The website for the business side being a basic, standard website (HTML, CSS and JS) I won’t talk about it much here. However, you can have a look at the github if you’re interested.
The application front-end was built using React-Native (a javascript framework), which is fabulously convenient as it renders UIs in both android and iOS. This means with the same body of code, you can have an app that functions properly on the only two smartphone operating systems still around (sorry windows phone…). In accordance with the latest versions of the React documentation, we essentially wrote function components (‘future facing way to write your React components’) seperated out in a few different scripts. Handling navigation and getting to know how React works were the true challenges here. There were, of course, inumerable bugs along the way but once you understand how the navigation stack works and how to make components interacts it ends up working.
A fun part, (fun meaning it probably generated the most headaches), was handling the requests to be sent to the back-end. A code snippet below shows one example, where the search request queries the back-end for businesses with a search string and categories to filter the results out.
function sendSearchRequest(search, categorie, updateFunction, route) {
  const url = new URL(route, server.server);

  const recherche = search;
  url.searchParams.append("search", recherche);
  if (categorie != "") {
    url.searchParams.append("categorie", categorie);
  }

  fetch(url, {
    method: "GET",
    headers: {
      Accept: "application/json",
    },
  })
    .then((response) => response.json())
    .then(updateFunction)
    .catch((e) => {
      alert("Something went wrong" + e.message);
    });
}
Because the back-end doesn’t necessarily send something back in the right format, this can generate looooots of errors.
Improvements and conclusion
There are multiple things that could be added to the app, and if I have time in the near-future, might come to fruition. Sorry if this reads like a messy list but oh well… For starters, handling authentication and authorization with Oauth would be cool. Adding 2FA and other safeguards as well. Perhaps adding an easy admin interface so that someone who doesn’t want to have to work directly with the code could handle accounts, do some cleanups, that sort of thing. Adding a personalized suggestion algorithm so that the app proposes businesses based on your past interaction could be cool too. Finally, a centralized fidelity card system with QR codes could be a cool idea to implement. Imagine having one single app with which you can go to all your local stores and have your indepent fidelity cards on it.
I hope this wasn’t too long and you have a decent picture of the work conducted for this project!